Installing Termux
Today I would like to go through how I Installed Termux on my Android phone, how I edited the app, what applications I use it for, why I installed it, and what I have learned.
First What is Termux you might ask? Pulled directly form the main website https://www.termux.com:
Termux is an Android terminal emulator and Linux environment app that works directly with no rooting or setup required. A minimal base system is installed automatically - additional packages are available using the APT package manager.
That seems like a lot of information to take in at once. Let’s break that down further:
- Android Terminal Emulator: This is a computer program {or in this case a android app} that emulates a text terminal on our android phone.
- Text Terminal: Also just called a terminal or system console is a standard serial computer interface for text entry and display. The system console is a text terminal used to operate a computer. One of the main uses and applications utilized in a terminal is the Shell, also known as a command-line interpreter. The shell is used type out commands and execute them.
- Linux Environment: This is simply a “Linux Like” environment that is installed on your android phone via the Termux application. You can run normal terminal commands as well as applications that are made to run in the terminal, such as Weechat, ncmpcpp, or tmux. It is not a linux subsystem, but simply a package ecosystem.
How do you install Termux?⌗
There are two ways you can install Termux:
- Through the Google Play Apps Store.
- Through the F-Droid App - The Free Open Source Android App Repository.
The option you choose is entirely up to your preference. The F-Droid versions add-on apps (Styling, API, Widget, Float, Boot, and Tasker) are free but are not maintained by Frederick Fornwall, the author and main maintainer. Where as the Google Play version’s add-on apps are small costs to purchase (about $6.00 USD for all of them I believe) and is maintained by Frederick and the money goes to helping him continue his work. I choose the Google Play Store version as I wanted to support the project.
Instillation Steps:⌗
-
Download the App from the Play Store Or from the F-droid App.
-
Open the app on your phone once it is done installing. The app will install the base system itself.
-
Once this is finished you are greeted by the Termux welcome screen. I would recommend reading through the wiki, there is A LOT of great information that can help you if you ever get lost. Termux uses the package manager
pkgto install different applications or packages.pkgis used by a majority of Debian based Linux distributions ,or Distros,(such as Ubuntu, Linux Mint and Zorin OS) use pkg as standard.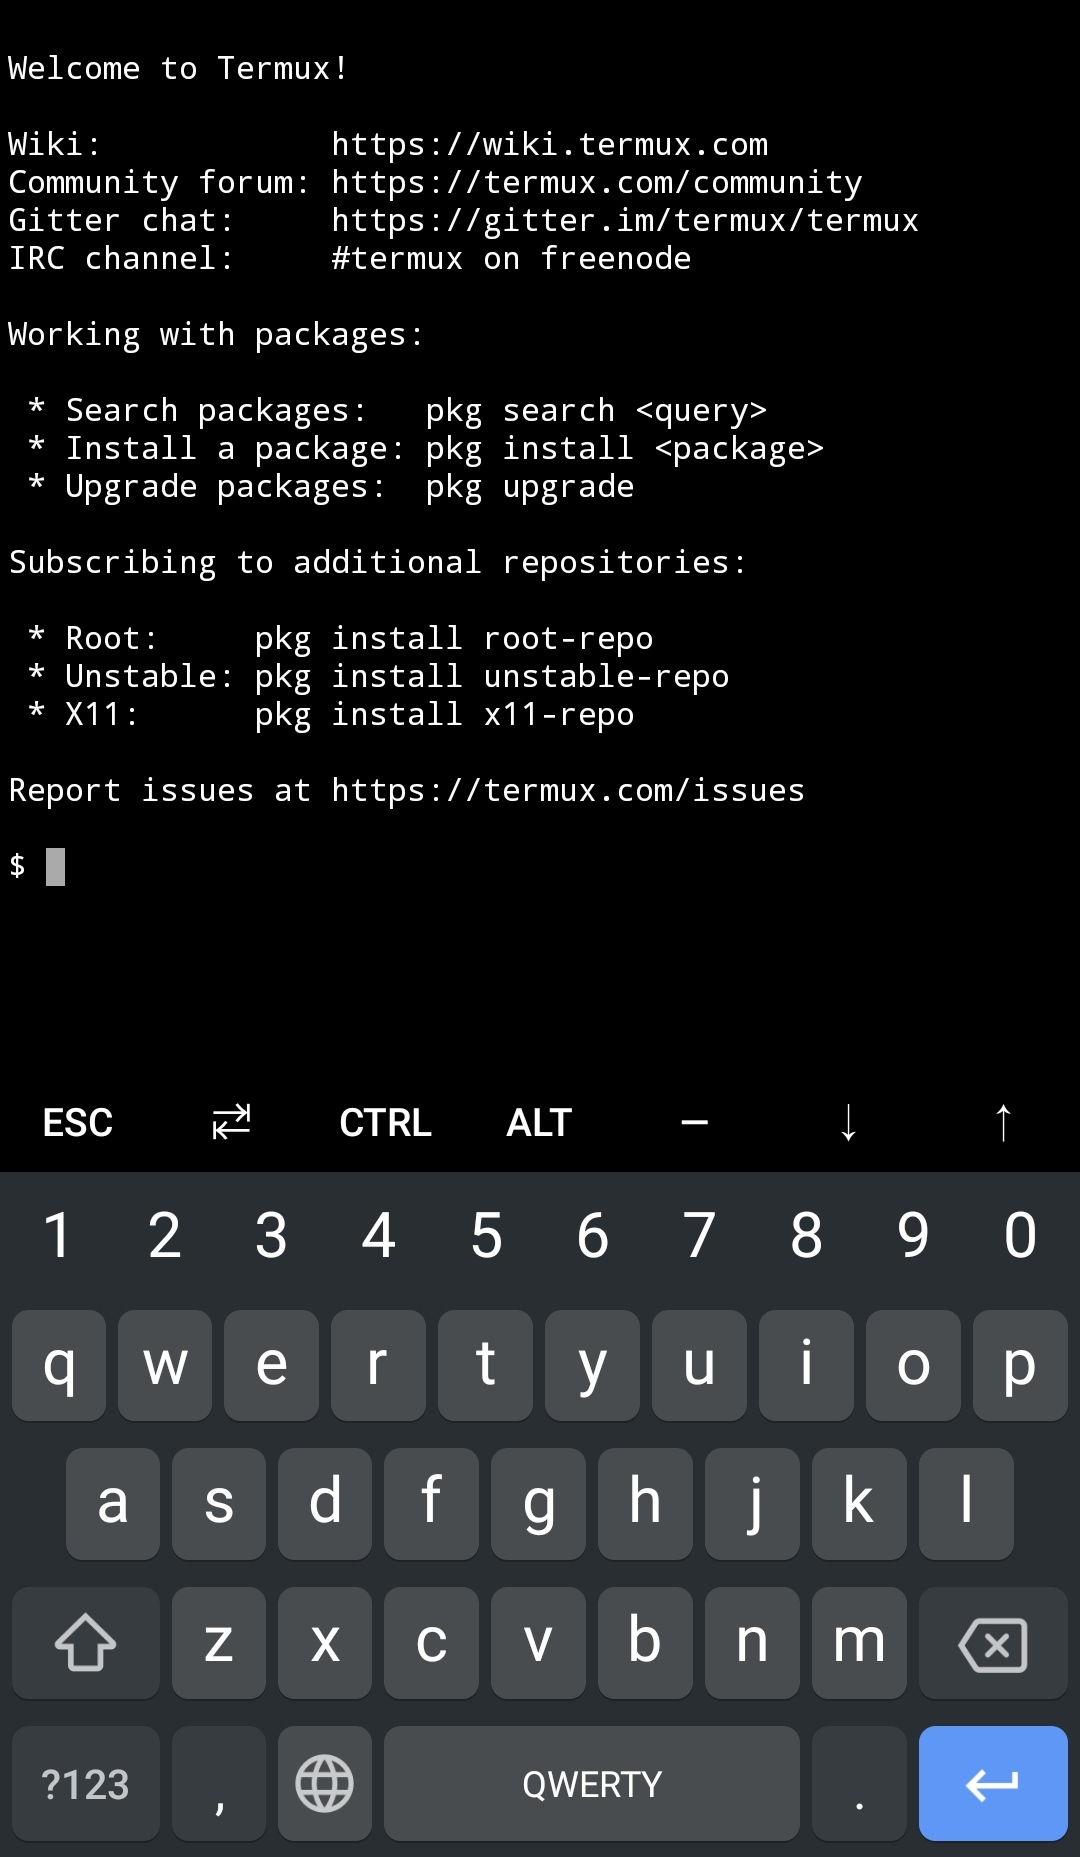
-
Termux is now installed and ready to use. I would suggest running
pkg updateand accept the upgrade. This will make sure your system is completely up to date.
Now to make it look better and run some stuff!⌗
Now you can install a plethora of packages. You can peruse the full list here. Some of the apps I Installed were:
vim- One of the best terminal based text editors around.git- for managing git repos, also use it to push my Termux files to github to keep them in one place. (This is not really needed as Termux has a built in backup utility that saves a zip file of everything in the Termux folder, but I am learning how to properly use git, so it helps.)zsh- a new command-line interpreter that offers improvements over Bash. (with the oh-my-zsh framework and the powerlevel10k theme.)WeeChat- a IRC (Internet Relay Chat) client. Other alternatives are irrsi or epic among some of the top used ones.Tmux- A terminal multiplexer. It allows you to switch between programs that you run in a session that you can detach and reattach on a different terminal. See the documentation at the link provided above.OpenSSH- Secure Shell tool for remote connection.
The easiest way to download a package is to run pkg install "packagename".
After installing the packages you want you can configure the apps further (Please read the documentation for the package you would like to customize.) For example I configured my .vimrc to include the Vundle plugin manager.
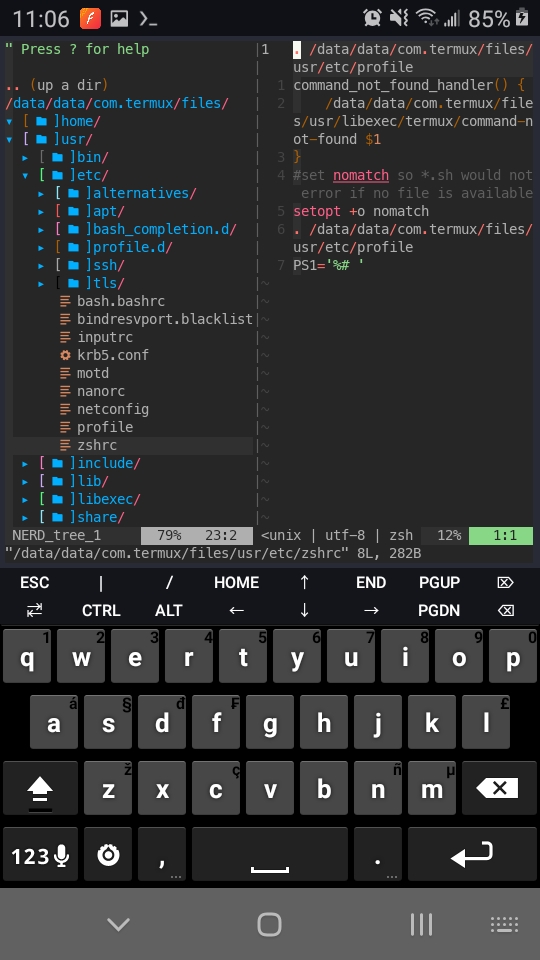
You might notice that there are some extra rows of keys above my keyboard (such as the arrow keys, PGUP and HOME buttons.) These are not 100% necessary, but I prefer having them. Follow this link to see how to set it up.
Quick summary copy the code block from the Wiki and paste it into a
termux.propertiesfile in the~/.termux/folder (the ~ refers back to the usershomedirectory.) then tun thetermux-reload-settingsfrom the command line to refresh Termux and ashow the additional keys.
After this I set up a new shell, zsh, with the Oh-my-zsh framework and the powerlevel10k theme. You can follow the git repo instillation guides for both of these for how to properly install and configure them. After installing, customizing and restarting Termux, it now looks like this:
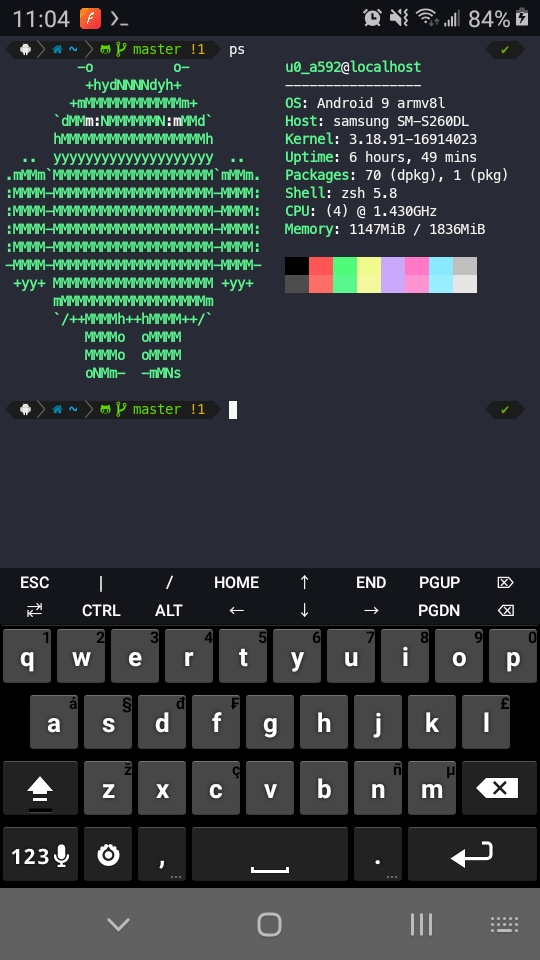
I used the screen capture tool neofetch to get the OS Printout info and the
ascii art image, that I tied to an alias ps, to make it easier to execute.
Why did I install Termux?⌗
I installed Termux as a way to continue learning the Linux command line, and understanding the packages that can be used. A majority of everything I have installed on my laptop (BTW I use Arch…sorry that’s over used..) I have installed on my Termux application. One nice thing I can do is use my phone to SSH into some other machine if I need to do something quickly, or ssh tunnel into one of my VPS’s running Tmux. There are a lot of options I can continue to use the app for and will most likely write up more things about it.
$ sudo exit⌗
Before I close out, here are a few projects on github that I personally would suggest you potentially look into related to Termux (I havent tryed any of these, but plan on looking into them):
- atlio - A termux program to install a few minimal linux distors inside termux.
- TermuxArch allows you to attempt to install an Arch Linux inside of the Termux environment.
- Nethunter-in-Termux
- install Kali nethunter in Termux, WITHOUT root.